

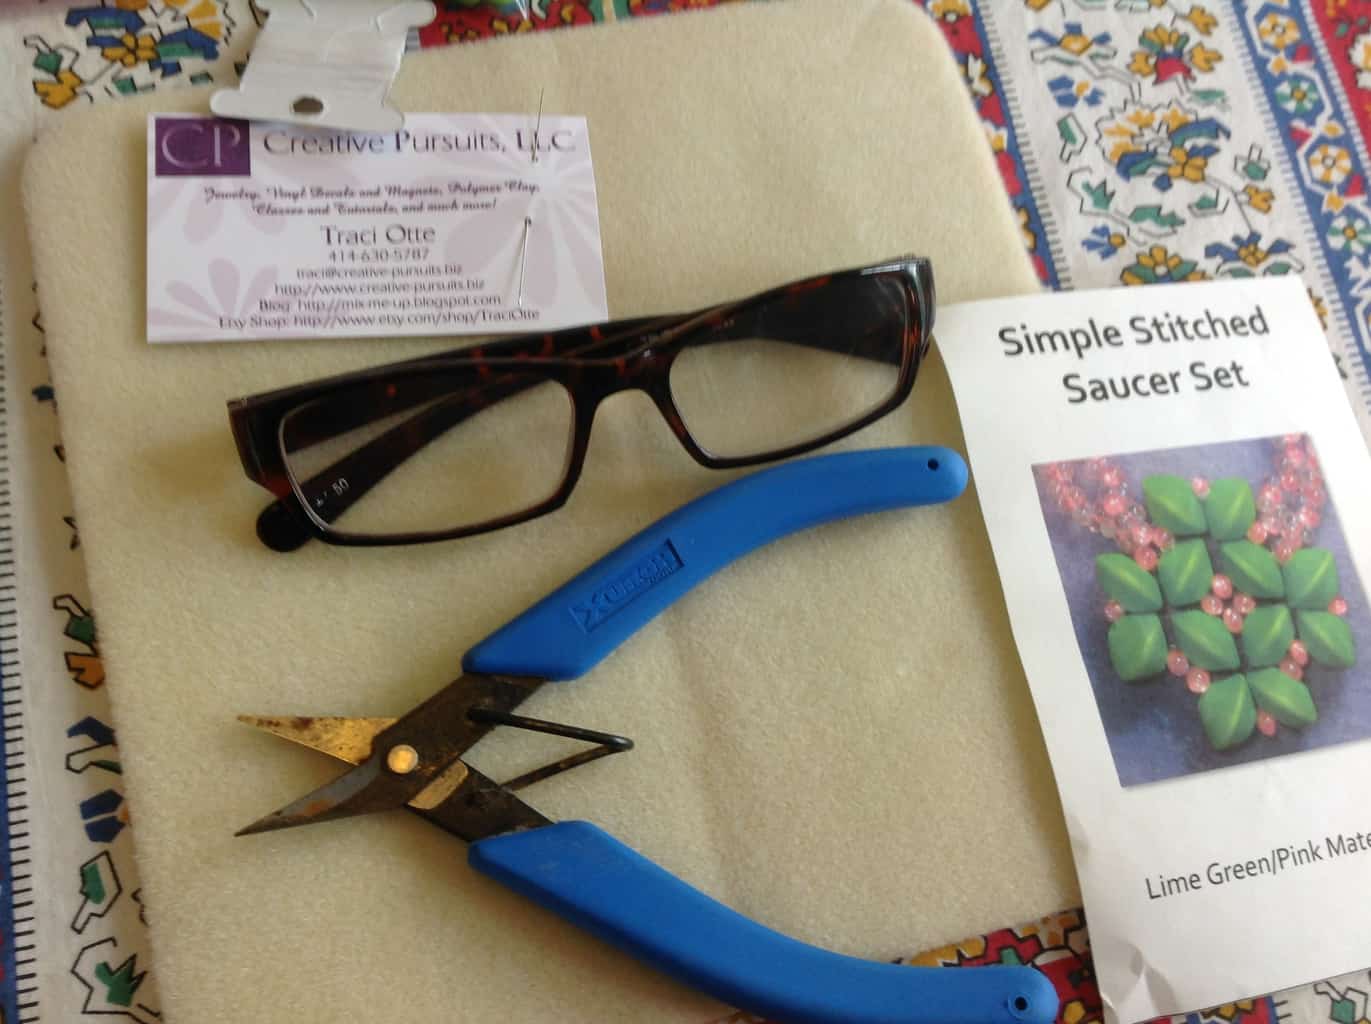
Bead weaving always seemed a bit out of my league — too complicated, beads too small, I don’t have the patience…. the list goes on. When my friend, Traci Otte, told me that one of her designs was going to be featured in the July 2014 issue of Bead Style magazine and, that it incorporated saucer beads (larger than seed beads), I decided this would be a perfect first project for me.
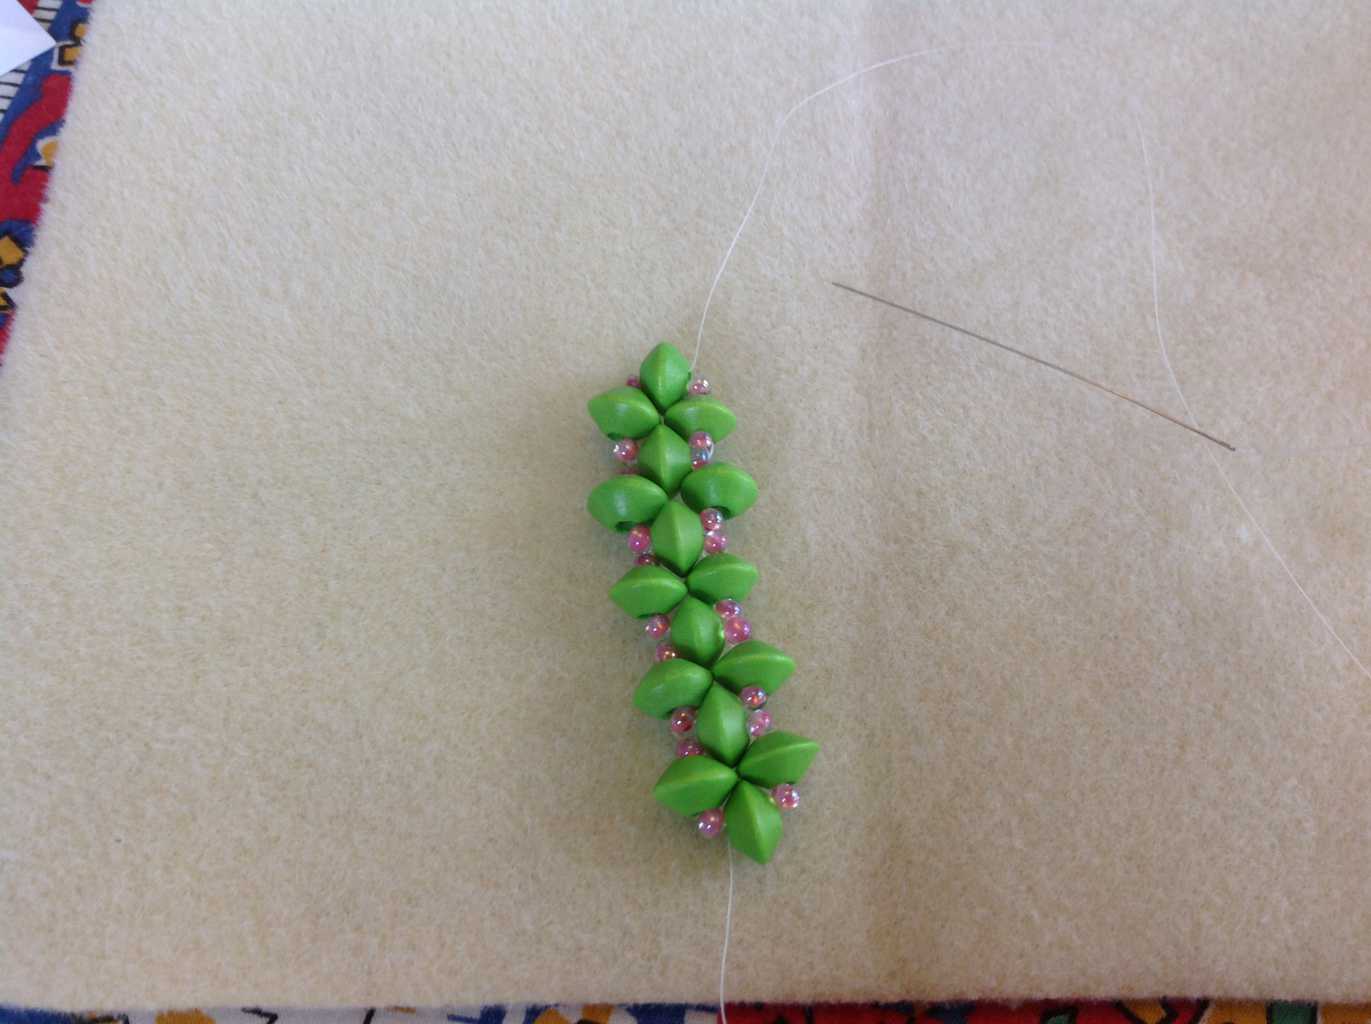
The first thing I did was study the instructions (I’m a knitter so following patterns and digesting the step-by-step before starting a project is very familiar), then I made a few test pieces (of the right angle weave “cubes”) to get the feel for the pattern. I also watched some videos on Youtube and drew myself a diagram of the path of the weave.
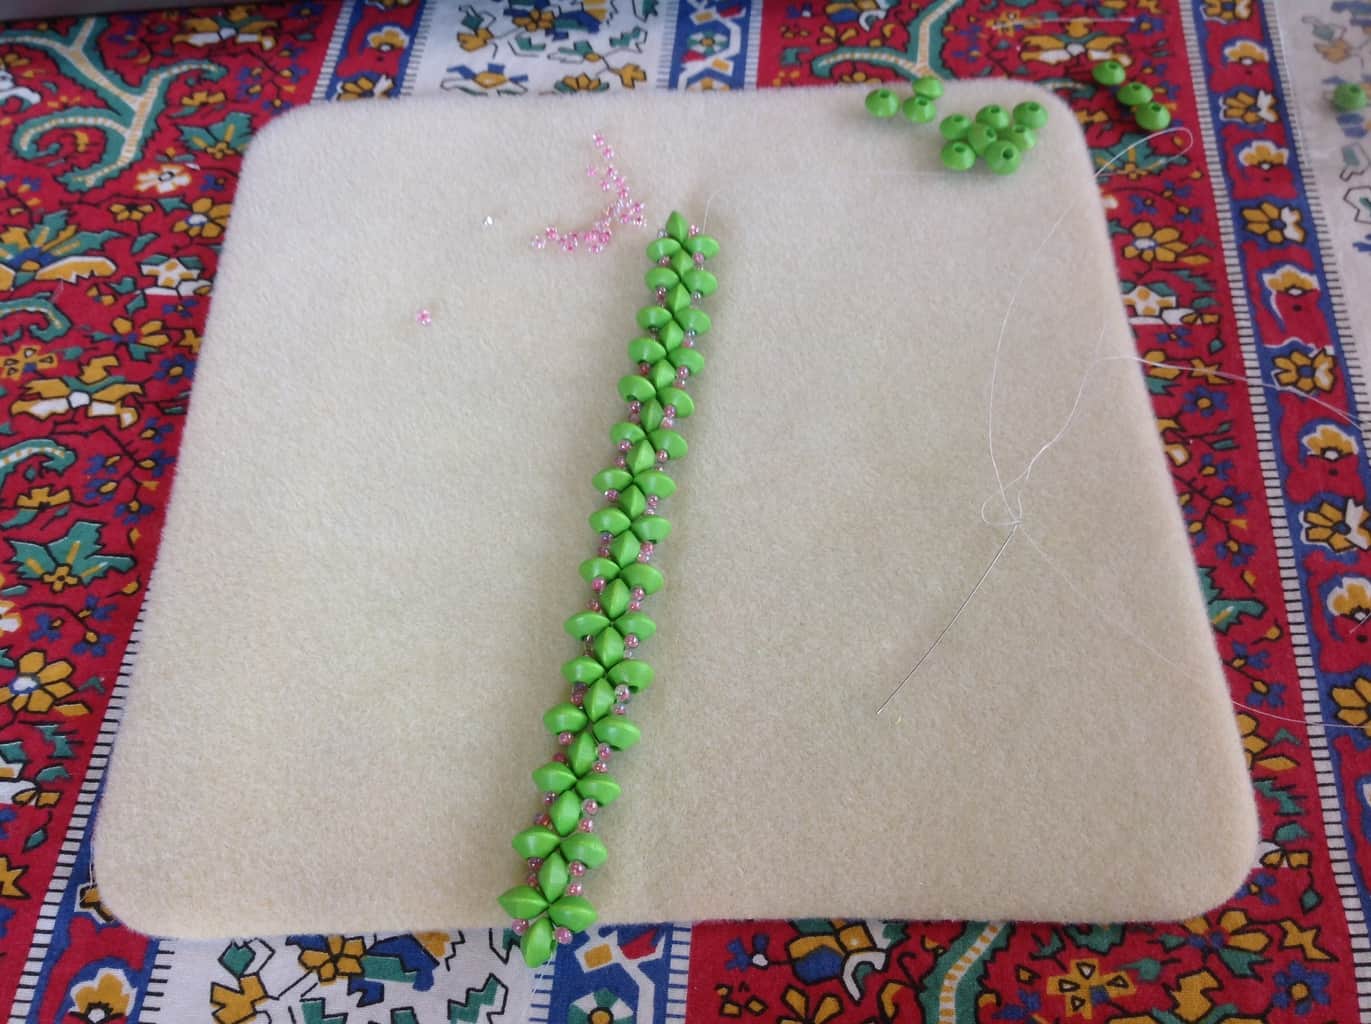
I quickly got the hang of going in circles and since this project involved seed beads as well as larger saucer beads, it went rather quickly.
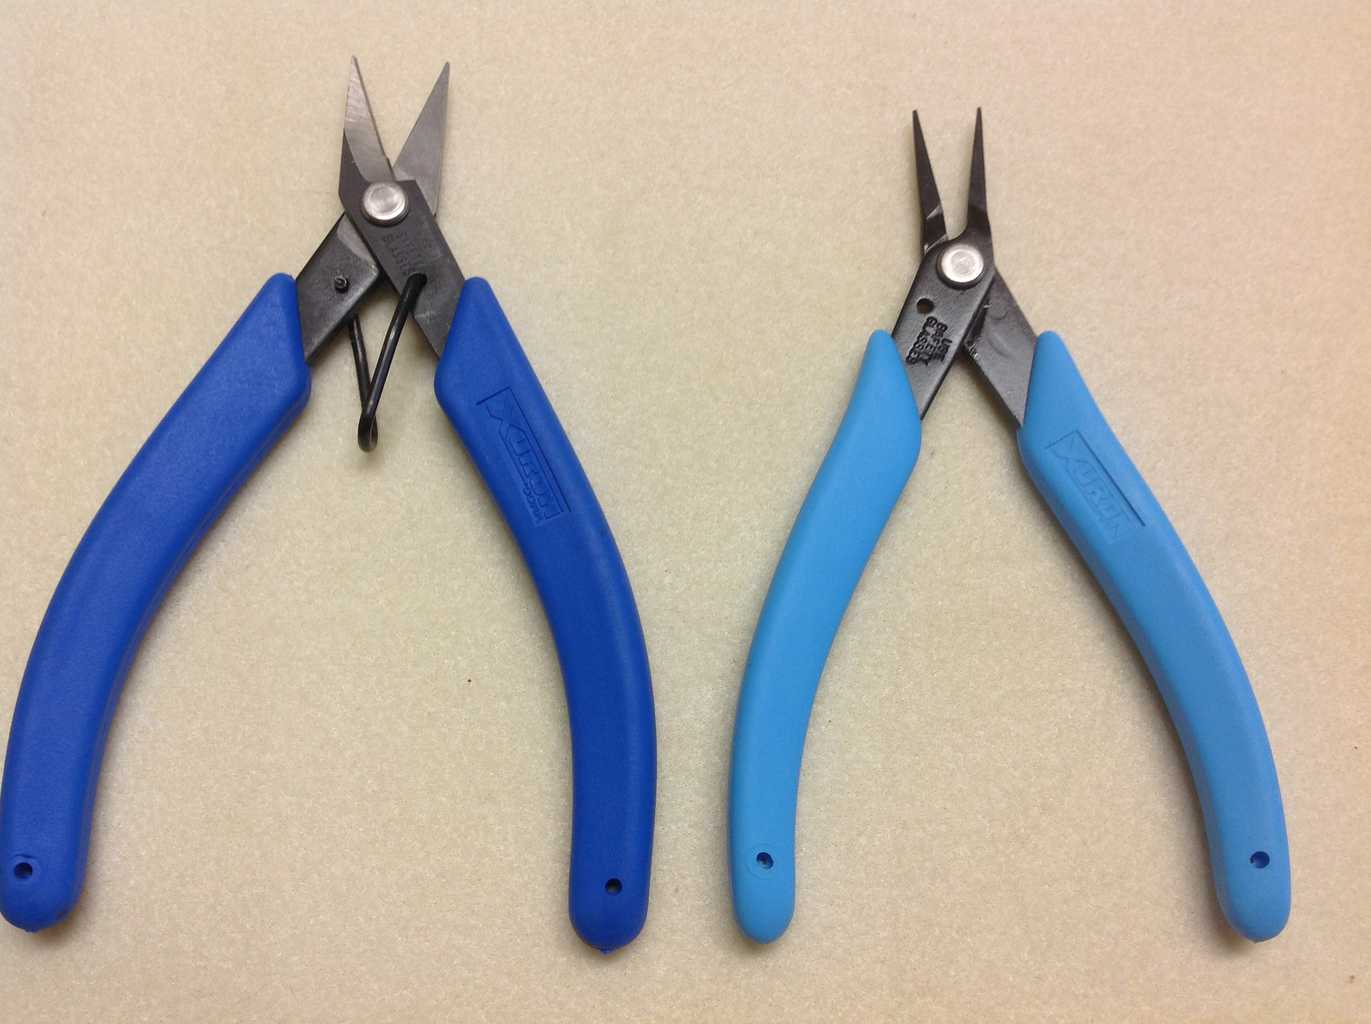
As someone who had never so much as threaded a weaving needle, this step actually proved to be the most challenging for me. Go figure? Finally, I found that if I made a fresh cut on my Fireline® then flattened the thread with my Plier, Xuron® Model 450 Tweezer Nose, I was able to thread the needle much easier.
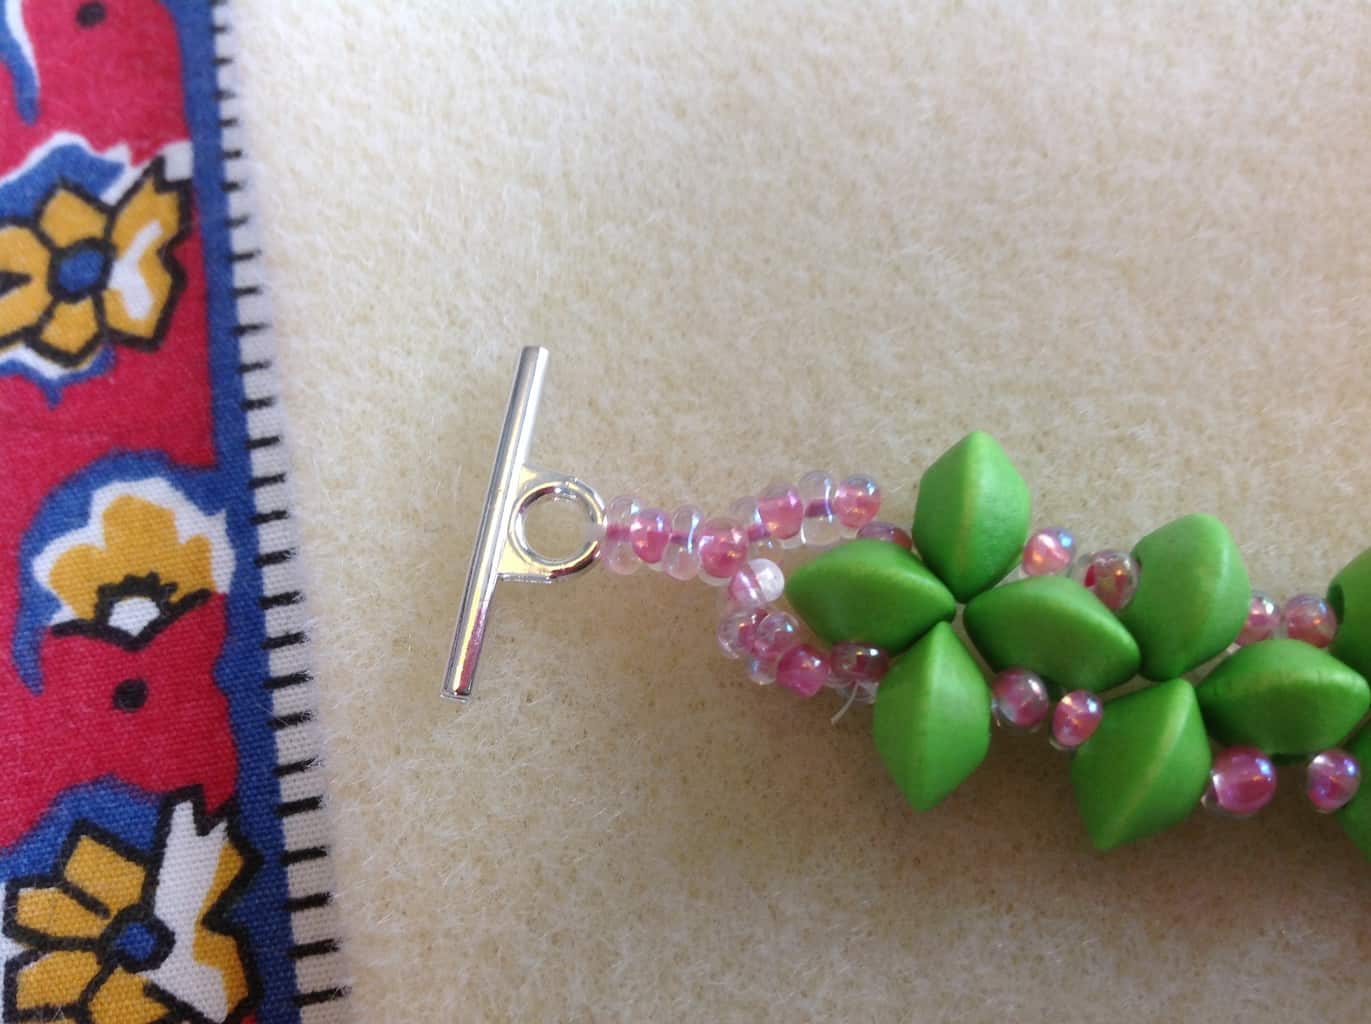
I also had no experience knotting the thread to end my work on the clasps — so, I simply wove the thread through the strands multiple times and I felt confident this was secure. I’ve since learned how to do this (found the instructions in Bead Style Magazine).

Other than the needle and thread (Fireline®), the only tools I needed were my Xuron® Model 9180 High Durability Scissor and the Xuron® Model 450 Tweezer Nose Plier (great for picking up those pesky seed beads).
This was a fun project and it taught me that bead weaving is not as intimidating as I expected. It just takes concentration, practice and patience.
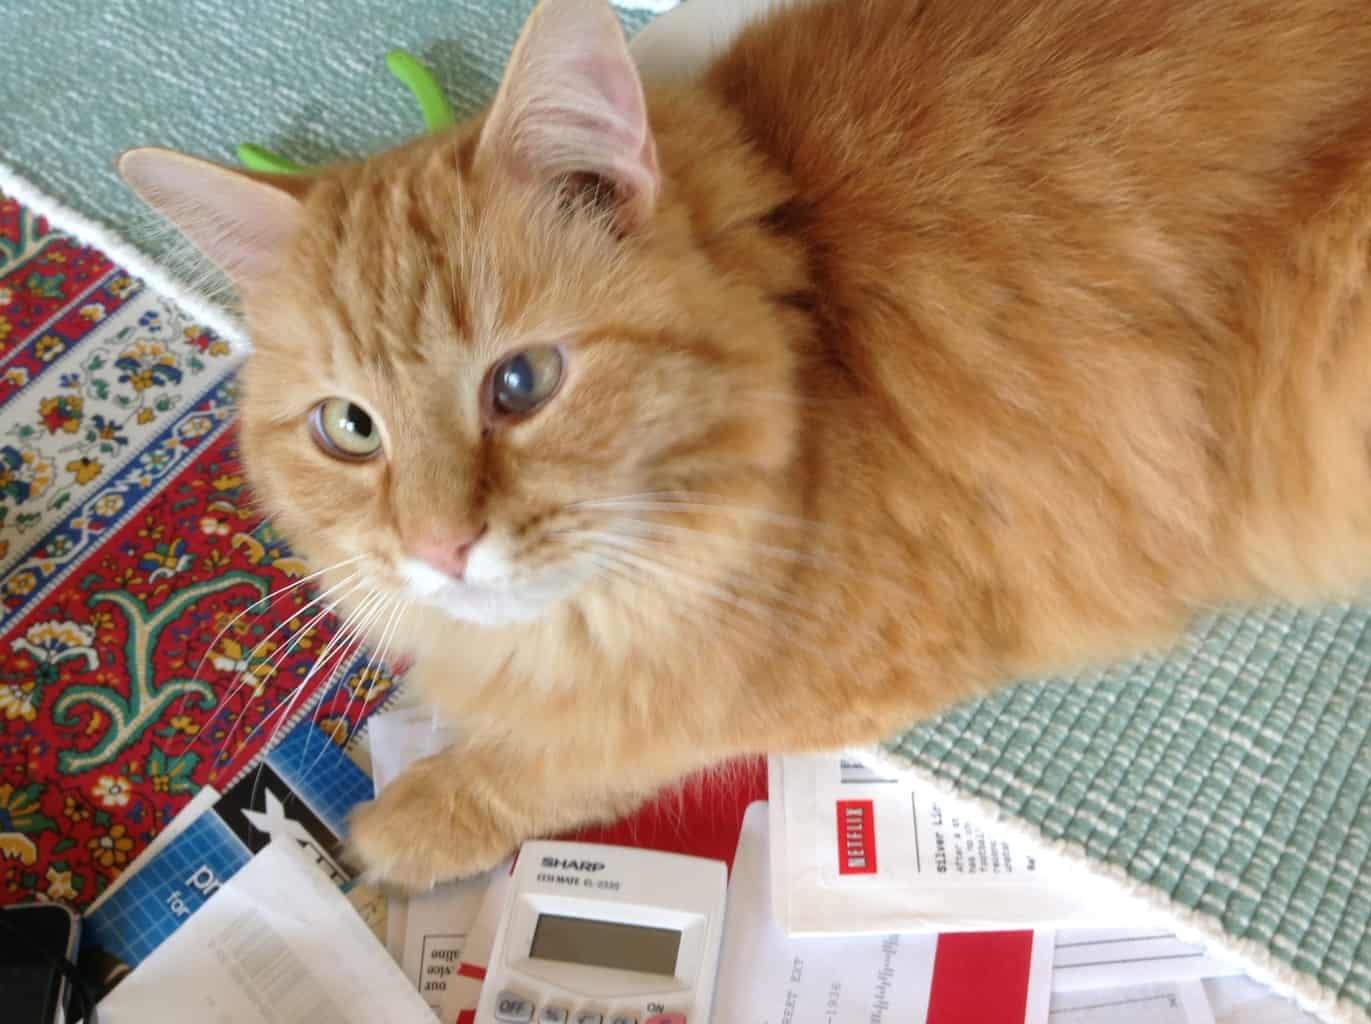
A couple of other things I learned about bead weaving — keep your workspace as clutter-free as possible. As you stitch, the thread will have a tendency to snag on anything in its path. Good lighting is important (especially if your eyes are older like mine) and, finally, cats and beads do NOT mix!
Thank you to Ashley Bunting for encouraging me to try bead weaving, to the above mentioned, Traci Otte, for her excellent kit and instructions and to Jill Wiseman for agreeing to “test drive” our new Model 441 Thread & Cord Scissor that I was not fortunate enough to have in my possession when I was working on this project.
Please feel free to leave a comment if you have any bead weaving tips/hints you’d like to share.
Thanks for posting this, Abby! Have you made the matching necklace and/or earrings yet? I can’t wait to see your next stitching project!
Hi Traci! No, I’ve not yet had a chance to make the necklace or earrings. Trust me, you’ll be the first person I call when I complete them!!