

You know the old saying, “anything that can go wrong will go wrong”? Well, it’s just as true in the jewelry studio as anywhere else. If you’re nodding your head in recognition, you aren’t alone. But, there are some things you can do to minimize mistakes at the jeweler’s bench.
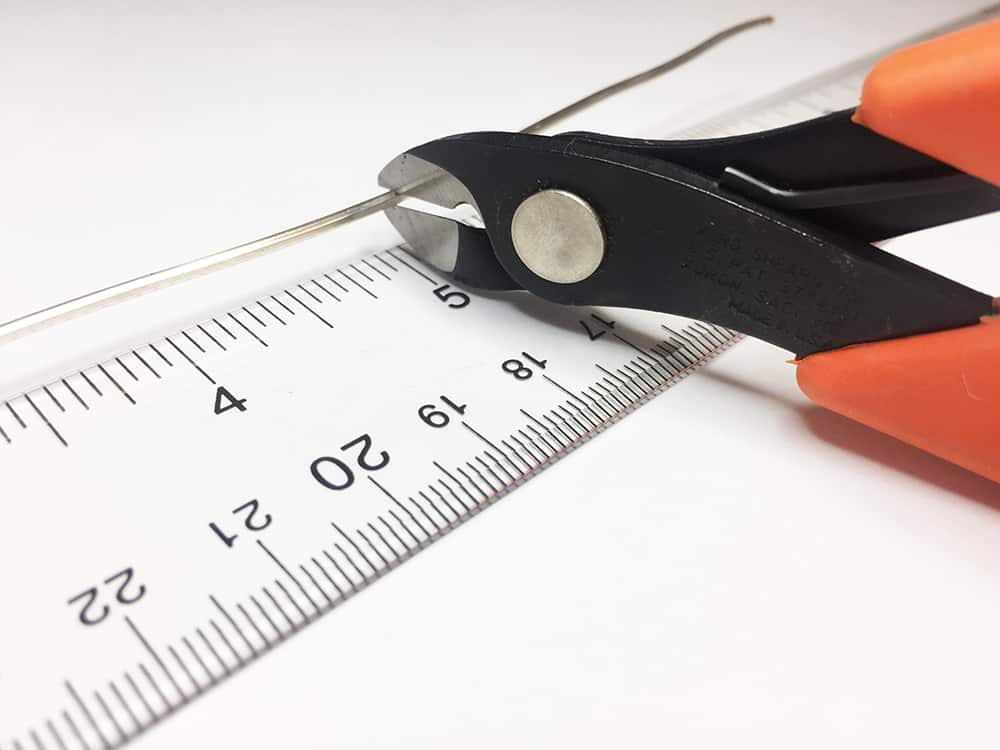
Measure twice, cut once. Oh, the heartache that could be avoided if we would all remember to do this! It’s so important anytime, but particularly necessary when you’re using precious metals. Keep a small ruler handy on your bench so you aren’t tempted to “eyeball” your next cut.
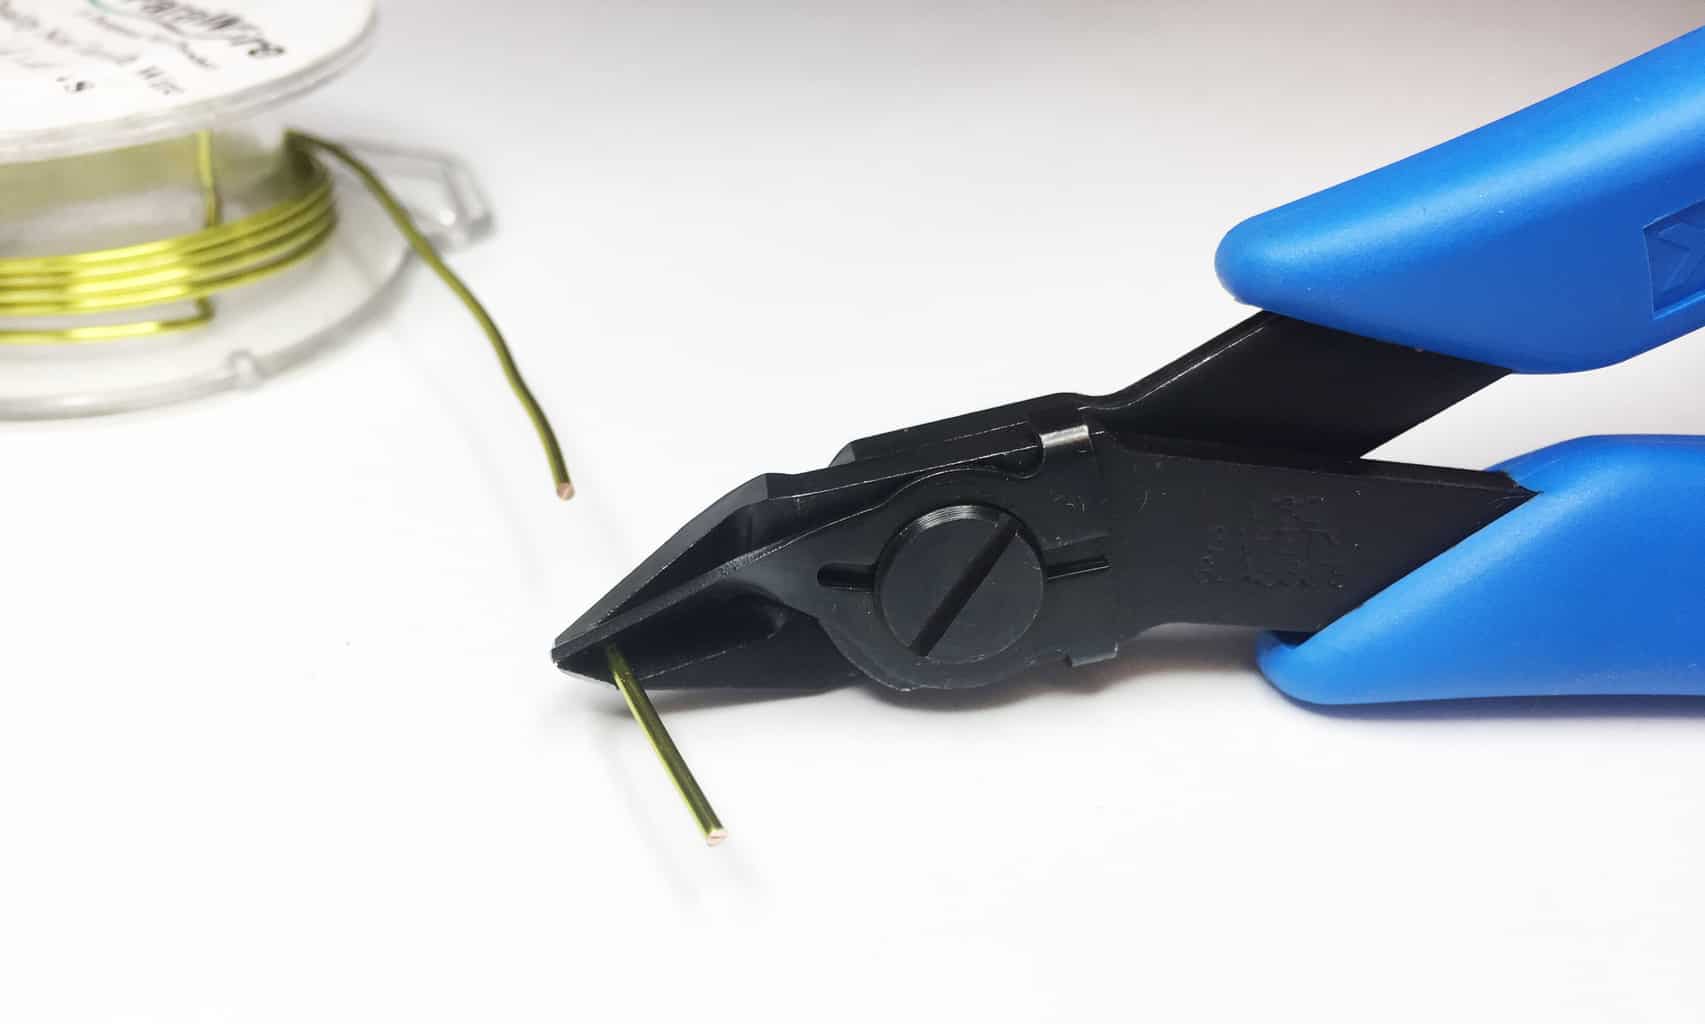
Turn the back of your wire cutters to your work. Save yourself some finishing time and make sure that the flat portion of the blades is pressing against your piece. That way, the flat wire end stays behind as the pinched end of the wire is removed. Be sure to cover the wire end as you cut so it doesn’t go flying, unless you’re using a flush cutter with wire retaining clip #9100F.
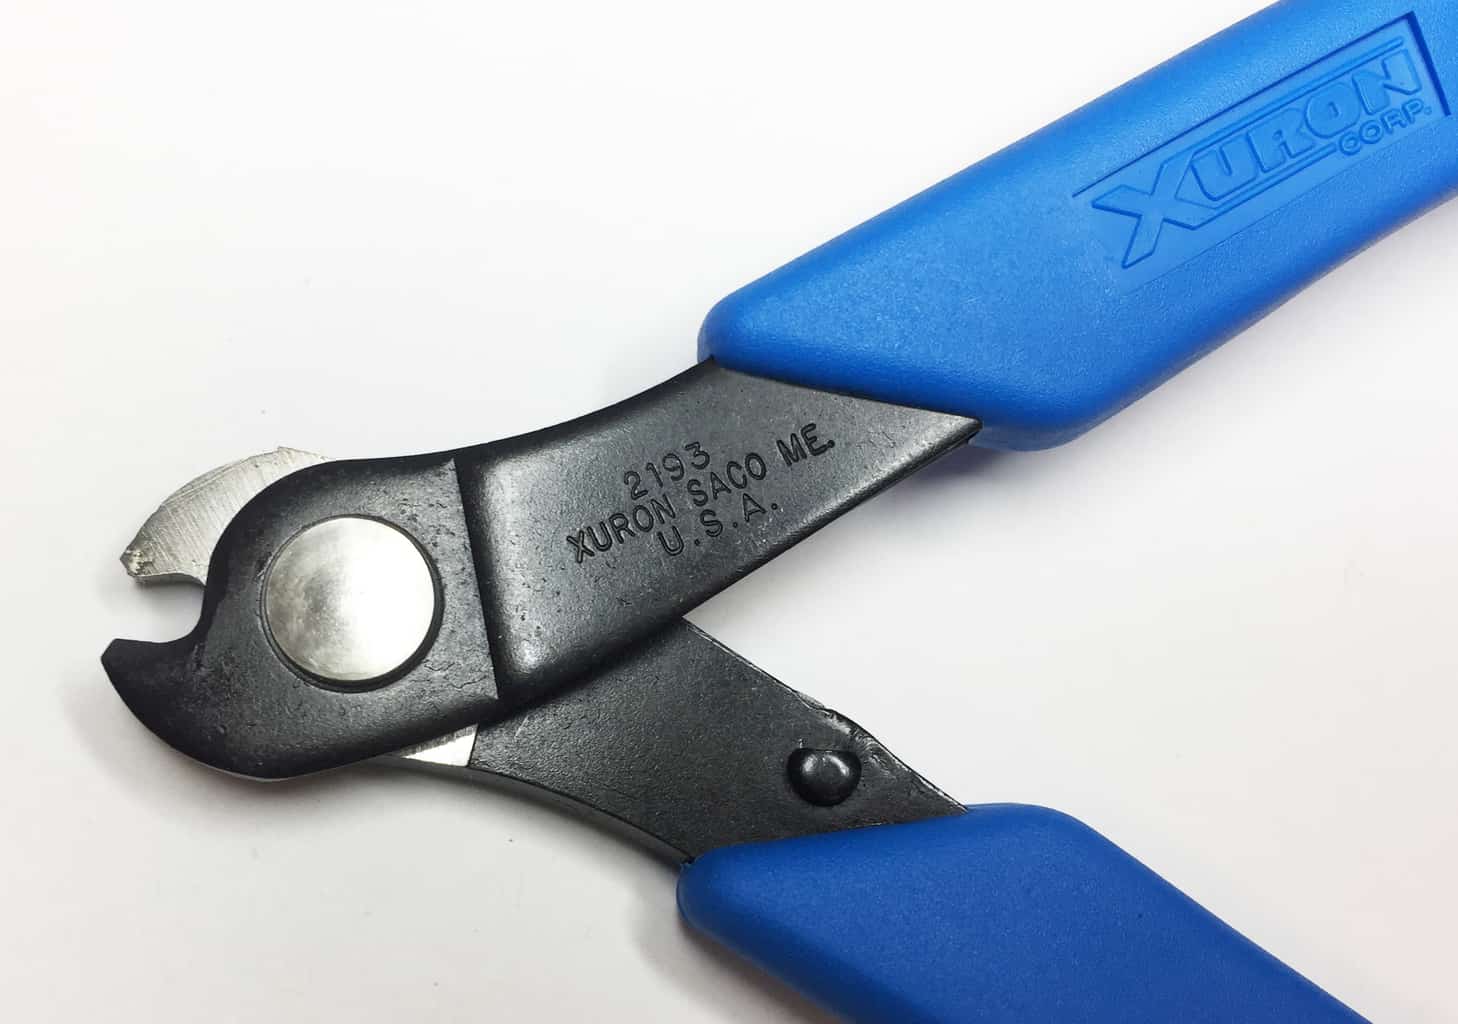
Don’t use your regular jewelry wire cutters to cut hardened wire. Memory wire is made of tempered stainless steel and should be cut with memory wire cutters #2193. If you use ordinary wire cutters to cut it, the wire will leave an indentation in the blades to remind you to use your hard wire cutters next time.
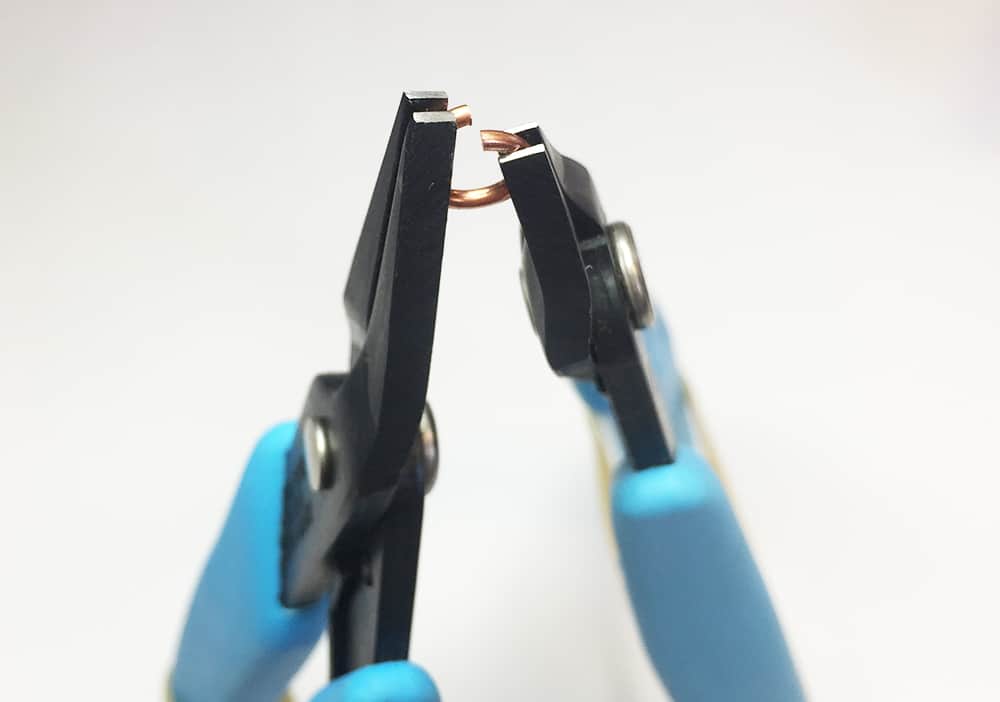
Close jump rings completely. Use a pair of short flat nose pliers #483 on each side of the ring and turn the ring open rather than pulling the ends directly apart. Brush the ends past each other until you hear a little “click,” then bring the ends together. This is important whether you are soldering your jump rings closed or leaving them unsoldered.
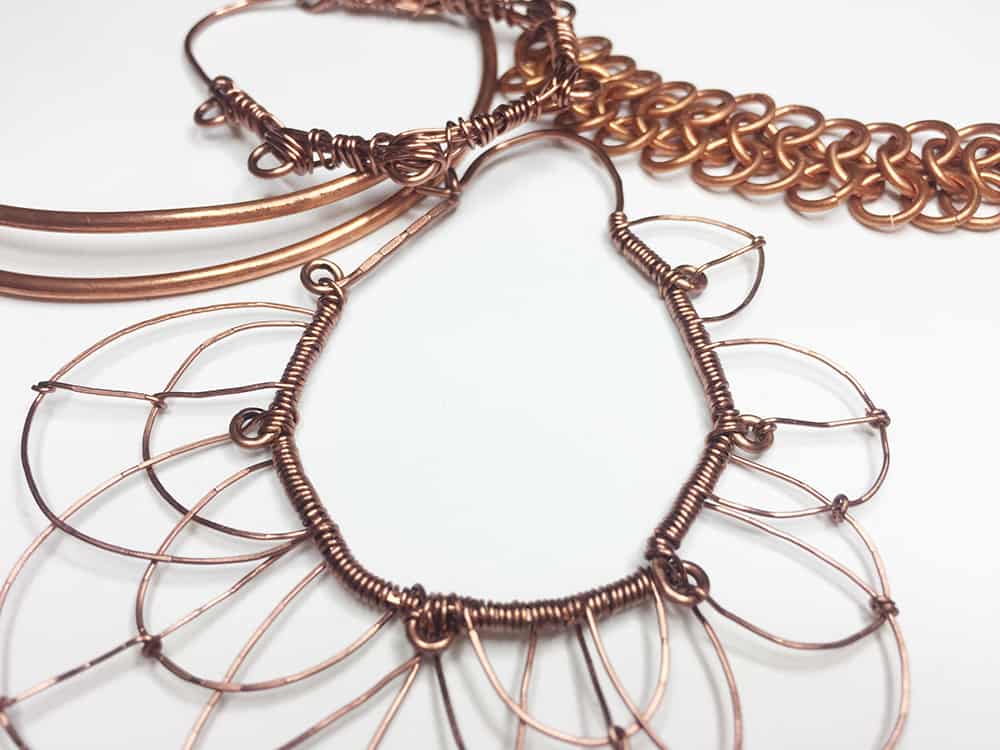
Make it in copper first. It can be tempting to dive in with sterling silver or gold-filled, but it’s a good idea to work out your design with copper first. It’s less expensive and very forgiving, so you can work out the kinks before you attempt your design in precious metal.
Don’t get hammered. Pay extra attention when you’re hammering metal. It’s no fun to hammer your fingers or thumb. If you can use pliers to hold your piece, then that gives you a little more space and makes it less likely that you will accidentally strike your non-dominant hand.
Remember to clean your metal between soldering joins. Oxidation acts as a barrier in soldering, so metal that hasn’t been cleaned prevents the solder from flowing. Take time to pickle your piece between each round of soldering or you’re going to have trouble soldering your metal together.
Don’t touch hot metal. Always keep a pick in your dominant hand and the torch in your non-dominant hand. Immediately quench pieces so you don’t accidentally grab a piece of hot metal. If you do touch hot metal, don’t panic! Shut off your equipment and take care of the burn.
Use copper tongs with your pickling solution. Steel tweezers will cause any metal in the pickle to become copper plated. This is not irreversible, but it is a big pain to clean the plating off your metal and you will need to make a new batch of pickling solution.
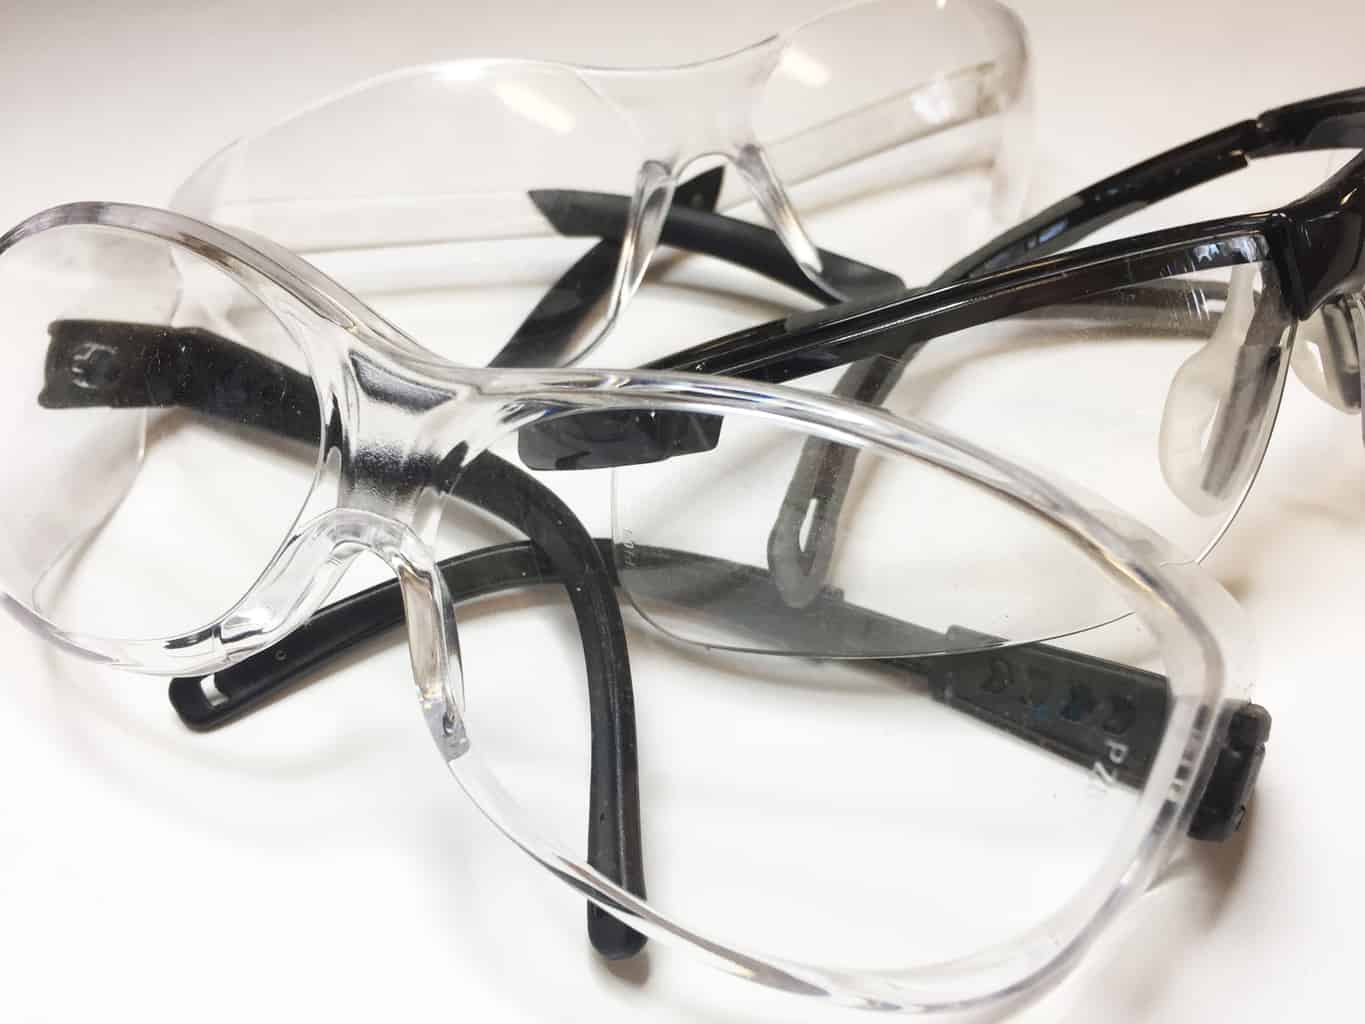
Make sure you’re working safely. It only takes one time to learn the hard way. Wear safety glasses, an apron and tie long hair back when you’re working in the jewelry studio. If you’re using a jeweler’s torch, make sure you have proper ventilation and a fire extinguisher. Keep long hair out of the flame and away from rotary tools.
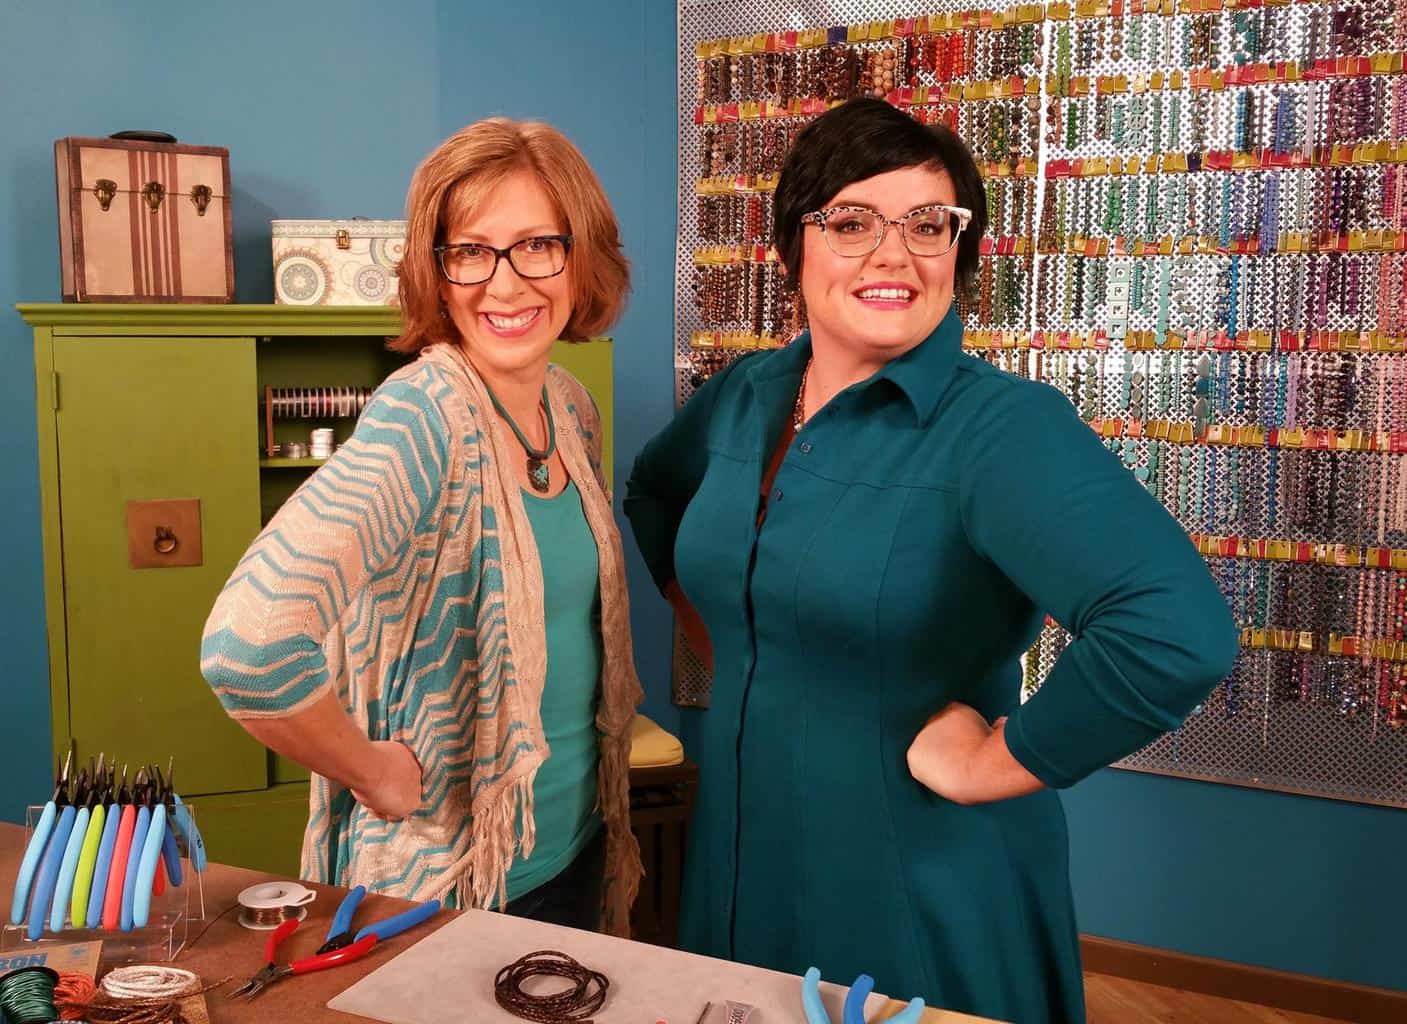
Guess how Katie Hacker learned most of these tips? That’s right, in the studio. Katie is the Editor of Beadwork Magazine, a talented designer and author of numerous book on jewelry making.
Have a favorite tip for the jeweler’s bench? Feel free to share it with us.
Lovely ladies! And I have a few of these cutters – and I LOVE them. Of course I need and want more. Thanks for this post.
Thank you for your kind comment!